우선 exception 패키지를 생성해주고, 두 exception 클래스를 설계한다.
DupilcateMemberException.java
package io.spring.hevton.Team.exception;

public class DuplicateMemberException extends RuntimeException {
    public DuplicateMemberException() {
        super();
    }
    public DuplicateMemberException(String message, Throwable cause) {
        super(message, cause);
    }
    public DuplicateMemberException(String message) {
        super(message);
    }
    public DuplicateMemberException(Throwable cause) {
        super(cause);
    }
}
데이터베이스에 해당 이름을 가진 유저가 이미 있는 경우 뿜는 에러를 위한 Exception이다.
NotFoundMemberException.java
public class NotFoundMemberException extends RuntimeException {
    public NotFoundMemberException() {
        super();
    }
    public NotFoundMemberException(String message, Throwable cause) {
        super(message, cause);
    }
    public NotFoundMemberException(String message) {
        super(message);
    }
    public NotFoundMemberException(Throwable cause) {
        super(cause);
    }
}
util 패키지 아래에
SecurityUtil.java
package io.spring.hevton.Team.util;

import org.slf4j.Logger;
import org.slf4j.LoggerFactory;
import org.springframework.security.core.Authentication;
import org.springframework.security.core.context.SecurityContextHolder;
import org.springframework.security.core.userdetails.UserDetails;

import java.util.Optional;

public class SecurityUtil {

    private static final Logger logger = LoggerFactory.getLogger(SecurityUtil.class);

    private SecurityUtil() {}

    // SecurityContext의 Authentication 객체를 이용해 UserName을 리턴해줌
    // SecurityContext에 Authentication 객체가 저장되는 시점은, JwtFilter의 doFilter 메소드에서 Request가 들어올 때
    // SecurityContext에 Authentication 객체를 저장해서 사용하게 된다.
    public static Optional<String> getCurrentUsername() {
        final Authentication authentication = SecurityContextHolder.getContext().getAuthentication();

        if (authentication == null) {
            logger.debug("Security Context에 인증 정보가 없습니다.");
            return Optional.empty();
        }

        String username = null;
        if (authentication.getPrincipal() instanceof UserDetails) {
            UserDetails springSecurityUser = (UserDetails) authentication.getPrincipal();
            username = springSecurityUser.getUsername();
        } else if (authentication.getPrincipal() instanceof String) {
            username = (String) authentication.getPrincipal();
        }

        return Optional.ofNullable(username);
    }
}
service 패키지 아래에
UserService.java
package io.spring.hevton.Team.service;


import java.util.Collections;
import java.util.Optional;

import io.spring.hevton.Team.dto.UserDto;
import io.spring.hevton.Team.entity.Authority;
import io.spring.hevton.Team.entity.User;
import io.spring.hevton.Team.exception.DuplicateMemberException;
import io.spring.hevton.Team.exception.NotFoundMemberException;
import io.spring.hevton.Team.repository.UserRepository;
import io.spring.hevton.Team.util.SecurityUtil;

import org.springframework.security.crypto.password.PasswordEncoder;
import org.springframework.stereotype.Service;
import org.springframework.transaction.annotation.Transactional;

@Service
public class UserService {
    private final UserRepository userRepository;
    private final PasswordEncoder passwordEncoder;

    public UserService(UserRepository userRepository, PasswordEncoder passwordEncoder) {
        this.userRepository = userRepository;
        this.passwordEncoder = passwordEncoder;
    }

    @Transactional
    public UserDto signup(UserDto userDto) { // 회원가입 로직 수행

        // 이미 이 username으로 저장된 유저가 데이터베이스에 있는지
        if (userRepository.findOneWithAuthoritiesByUsername(userDto.getUsername()).orElse(null) != null) {
            throw new DuplicateMemberException("이미 가입되어 있는 유저입니다.");
        }

        // 권한정보 생성
        Authority authority = Authority.builder()
                .authorityName("ROLE_USER") // ROLE_USER 라는 권한
                .build();

        // 권한정보를 넣은 유저 생성
        User user = User.builder()
                .username(userDto.getUsername())
                .password(passwordEncoder.encode(userDto.getPassword()))
                .nickname(userDto.getNickname())
                .authorities(Collections.singleton(authority))
                .activated(true)
                .build();

        return UserDto.from(userRepository.save(user));
    }

    @Transactional(readOnly = true)
    public UserDto getUserWithAuthorities(String username) { // username을 기준으로 가져옴
        return UserDto.from(userRepository.findOneWithAuthoritiesByUsername(username).orElse(null));
    }

    @Transactional(readOnly = true)
    public UserDto getMyUserWithAuthorities() { // 현재 SecurityContext에 저장되어있는 것만
        return UserDto.from(
                SecurityUtil.getCurrentUsername()
                        .flatMap(userRepository::findOneWithAuthoritiesByUsername)
                        .orElseThrow(() -> new NotFoundMemberException("Member not found"))
        );
    }
}
controller 패키지 아래
UserController.java
package io.spring.hevton.Team.controller;


import io.spring.hevton.Team.dto.UserDto;
import io.spring.hevton.Team.service.UserService;
import org.springframework.http.ResponseEntity;
import org.springframework.security.access.prepost.PreAuthorize;
import org.springframework.validation.annotation.Validated;
import org.springframework.web.bind.annotation.*;


import javax.servlet.http.HttpServletRequest;


@RestController
@RequestMapping("/api")
public class UserController {
    private final UserService userService;

    public UserController(UserService userService) {
        this.userService = userService;
    }


    @PostMapping("/signup") // userDto를 파라미터로 받아서, signup 수행
    public ResponseEntity<UserDto> signup(
            @Validated @RequestBody UserDto userDto
    ) {
        return ResponseEntity.ok(userService.signup(userDto));
    }

    // 내 정보
    @GetMapping("/user")
    @PreAuthorize("hasAnyRole('USER','ADMIN')") // 두가지 권한 모두 호출가능한 API
    public ResponseEntity<UserDto> getMyUserInfo(HttpServletRequest request) {
        return ResponseEntity.ok(userService.getMyUserWithAuthorities());
    }

    // 특정 유저 정보
    @GetMapping("/user/{username}")
    @PreAuthorize("hasAnyRole('ADMIN')") // 어드민 권한만 호출가능한 API
    public ResponseEntity<UserDto> getUserInfo(@PathVariable String username) {
        return ResponseEntity.ok(userService.getUserWithAuthorities(username));
    }
}
이제 Insomnia를 이용해 테스트해본다.
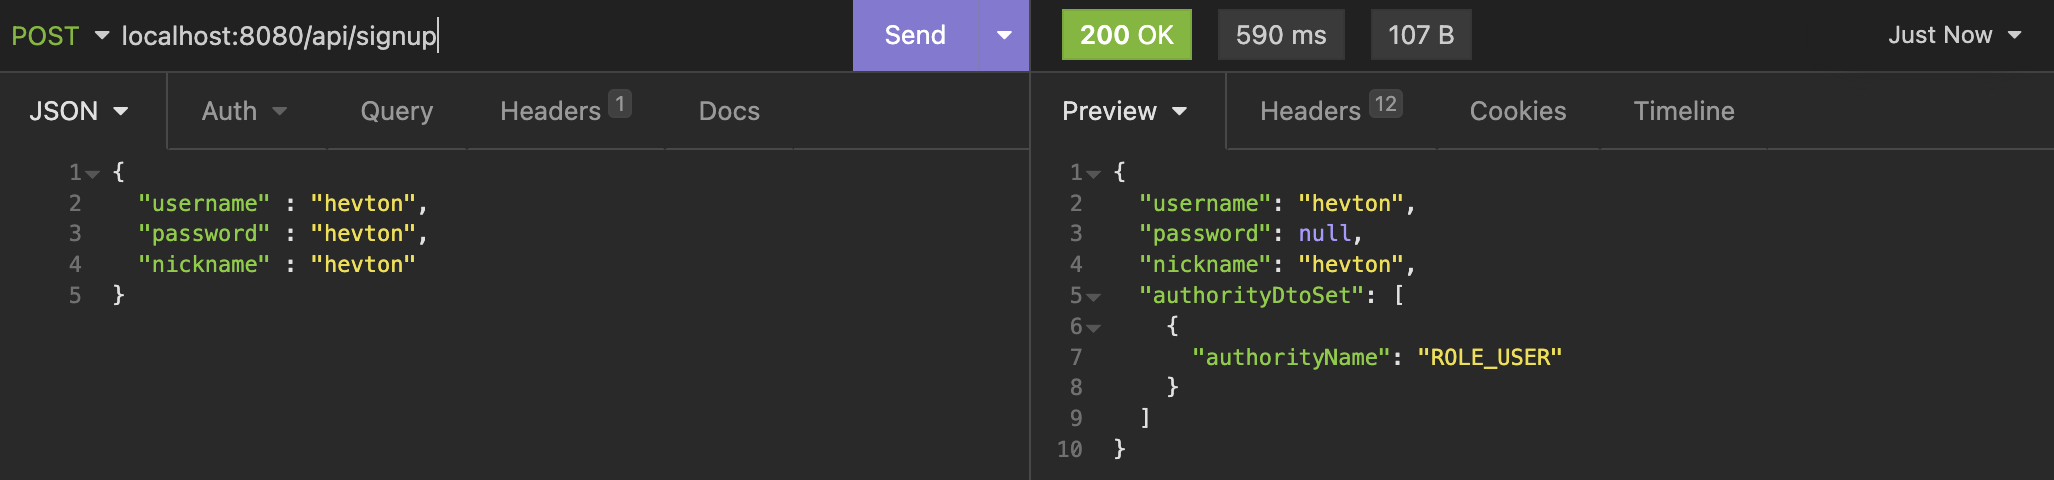
ROLE_USER의 권한을 가진 유저가 생성되었다.
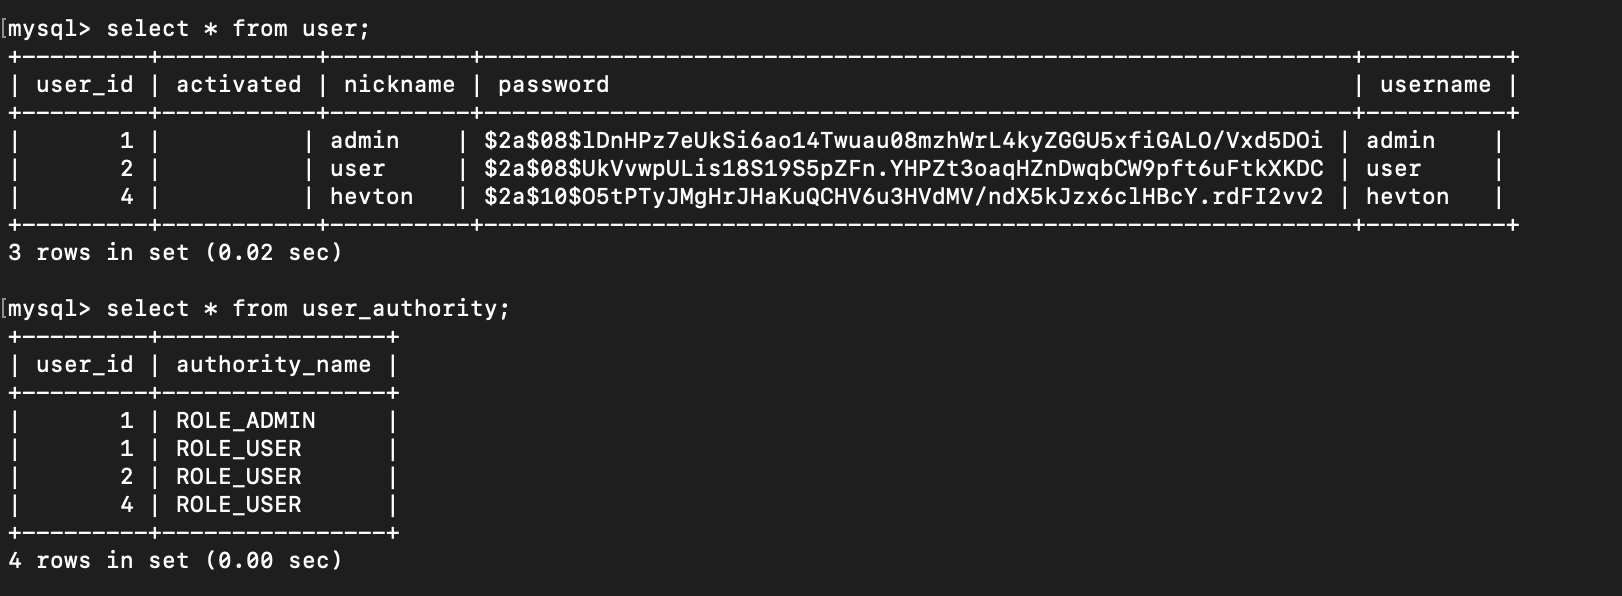
데이터베이스에도 적용된 것을 확인해 볼 수 있다.
이번엔 특정 user의 정보를 가져와본다. 아래 API를 찌를 것이다.

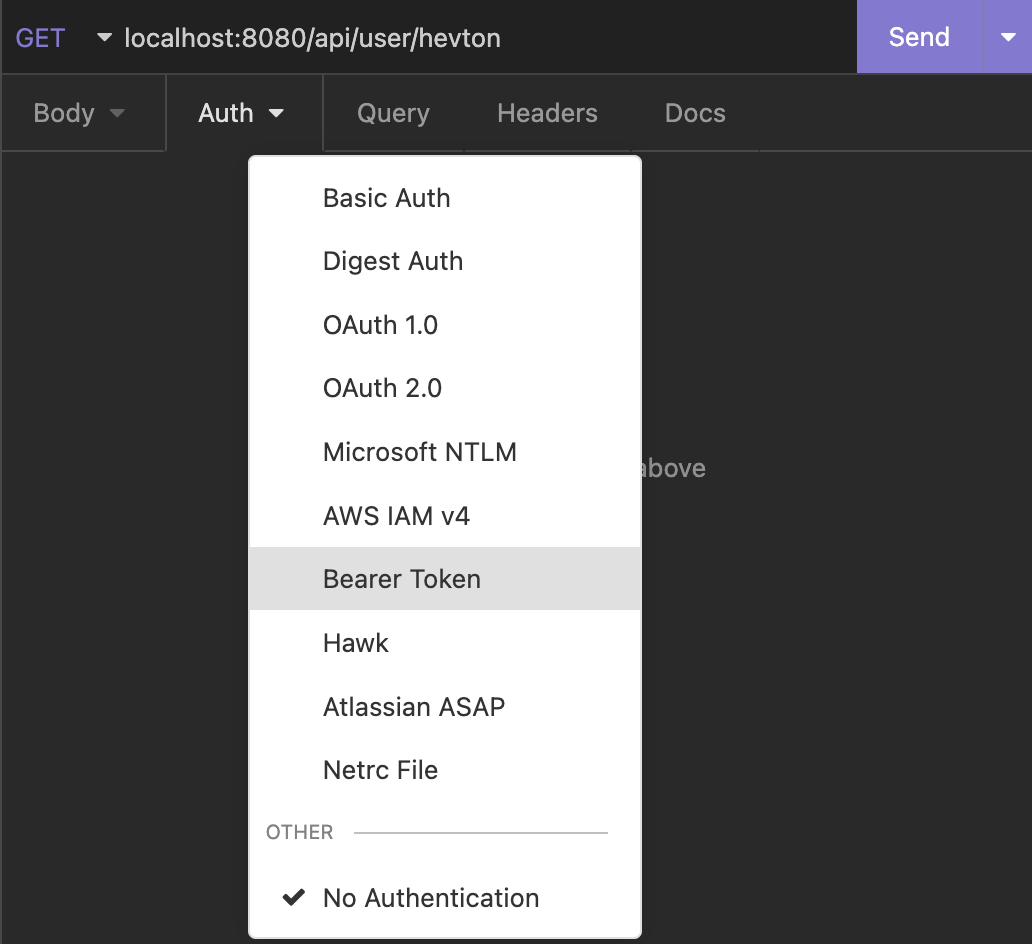
JWT 토큰을 이용하여 요청할 것인데,
이전 글에서 admin 계정을 통해 발급받았던 JWT토큰을 이용해 API를 찔러본다.
잘 가져와지는 것을 볼 수 있다.
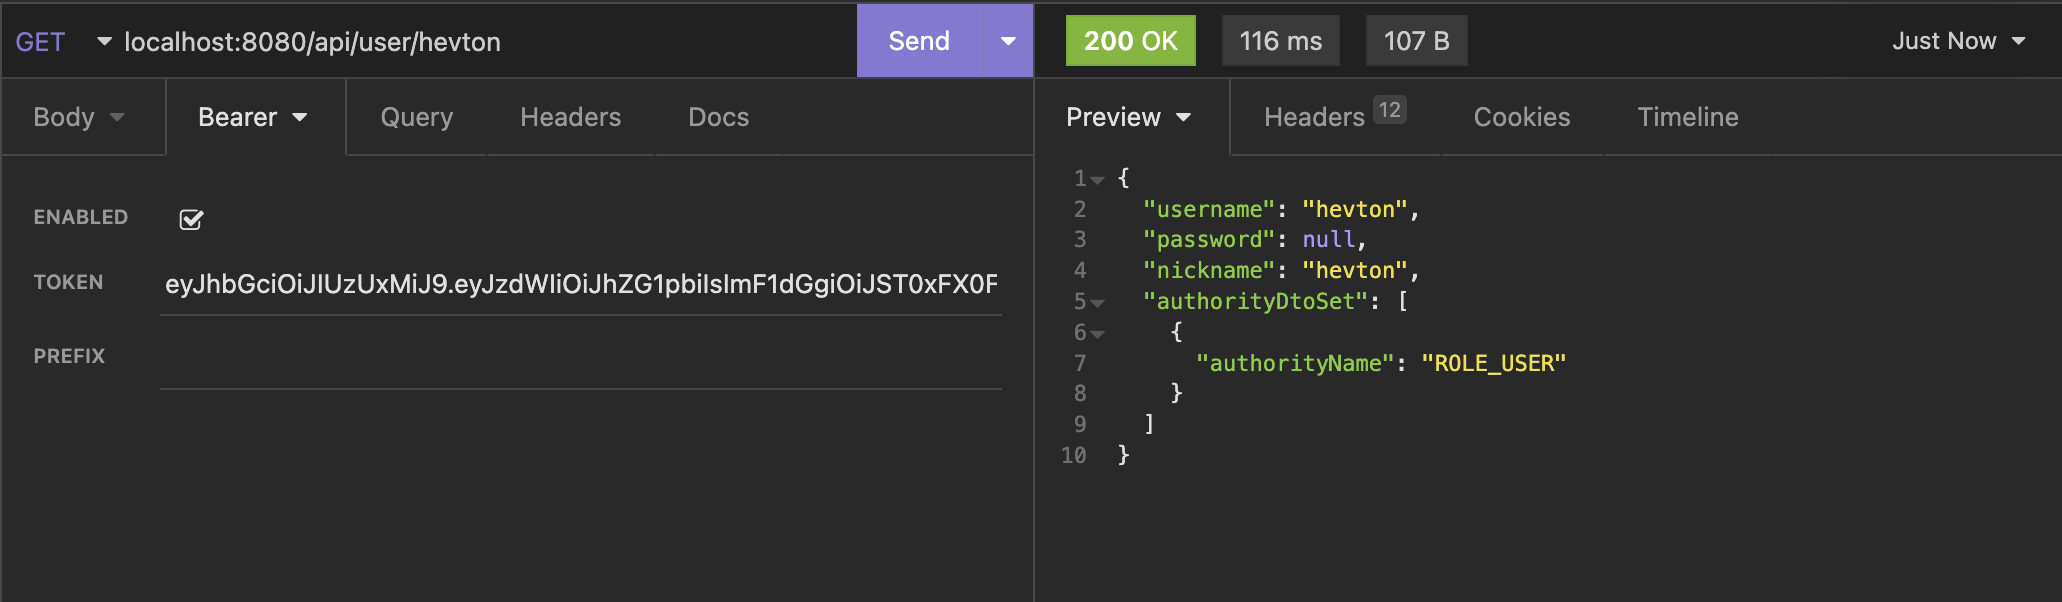
이 토큰이 admin 계정의 토큰이었고,
admin 계정은 ROLE_USER, ROLE_ADMIN 둘 다 가지고 있었다.
그렇기 때문에 남의 계정에 대한 정보였던 getUserInfo API를 찌를 수 있었다.
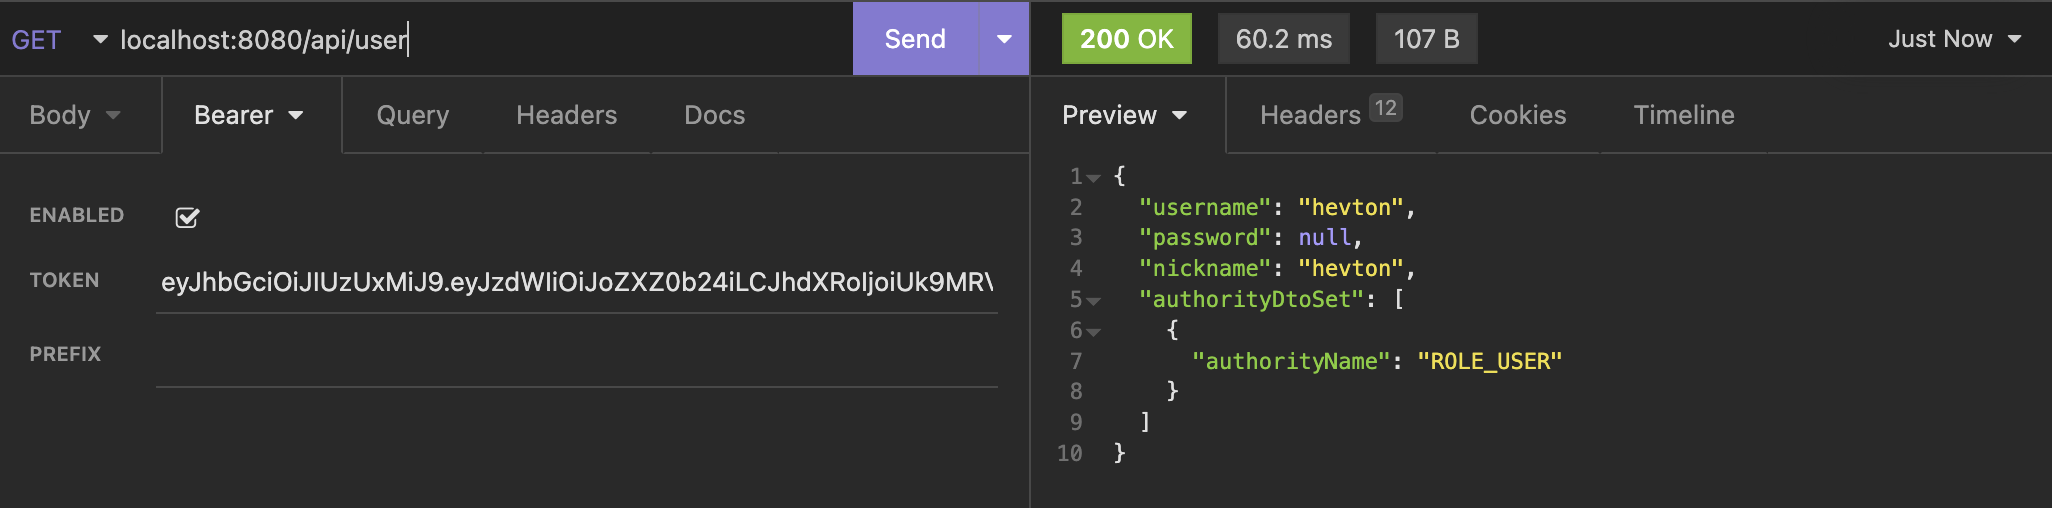
이 API를, hevton 계정의 JWT토큰으로 찔러보면 권한이 없다고 나온다.

이 hevton 토큰 기반으로, 나의 정보에 대한 API는 찌를 수 있다.
이렇게
ID, PW 기반으로 회원가입 -> 회원정보(권한 포함) DB 저장
-> ID 그대로 PW는 BCryptPasswordEncoder (SecurityConfig.java)
DB에 저장되어 있는 ID PW 유저 정보가 날아오면, JWT 토큰 발급.
-> 유저 정보가 DB에 없으면 토큰 발급 안함.
이렇게 생성한 유저의 JWT 토큰을 통해 앞으로 API들을 찌르는데,
각 API 마다 접근 권한 설정을 해줄 수 있었고, 요청한 JWT로부터 권한정보를 가져와서 이에 적절한 처리를 해준다.
(해당 API에 대한 권한이 있는 JWT 토큰을 갖는 요청이 오면 처리 가능, 아니면 Forbidden)
어렵고 복잡하지만, 코드를 다시 보면 도움이 많이 된다!
'[SpringBoot] > [Spring 강의]' 카테고리의 다른 글
| [Kotlin + Spring] Spring 3.X 버전 QueryDSL 세팅하기 (0) | 2024.04.08 |
|---|---|
| [Kotlin + Spring] 2. Spring data JPA 활용하기 (feat. cherry pick) (0) | 2024.03.27 |
| [Spring 강의 작성] JWT 토큰 인증방식 적용하기 - 3 (0) | 2023.01.08 |
| [Spring 강의 작성] JWT 토큰 인증방식 적용하기 - 2 (1) | 2023.01.07 |
| [Spring 강의 작성] JWT 토큰 인증방식 적용하기 - 1 (0) | 2023.01.05 |


